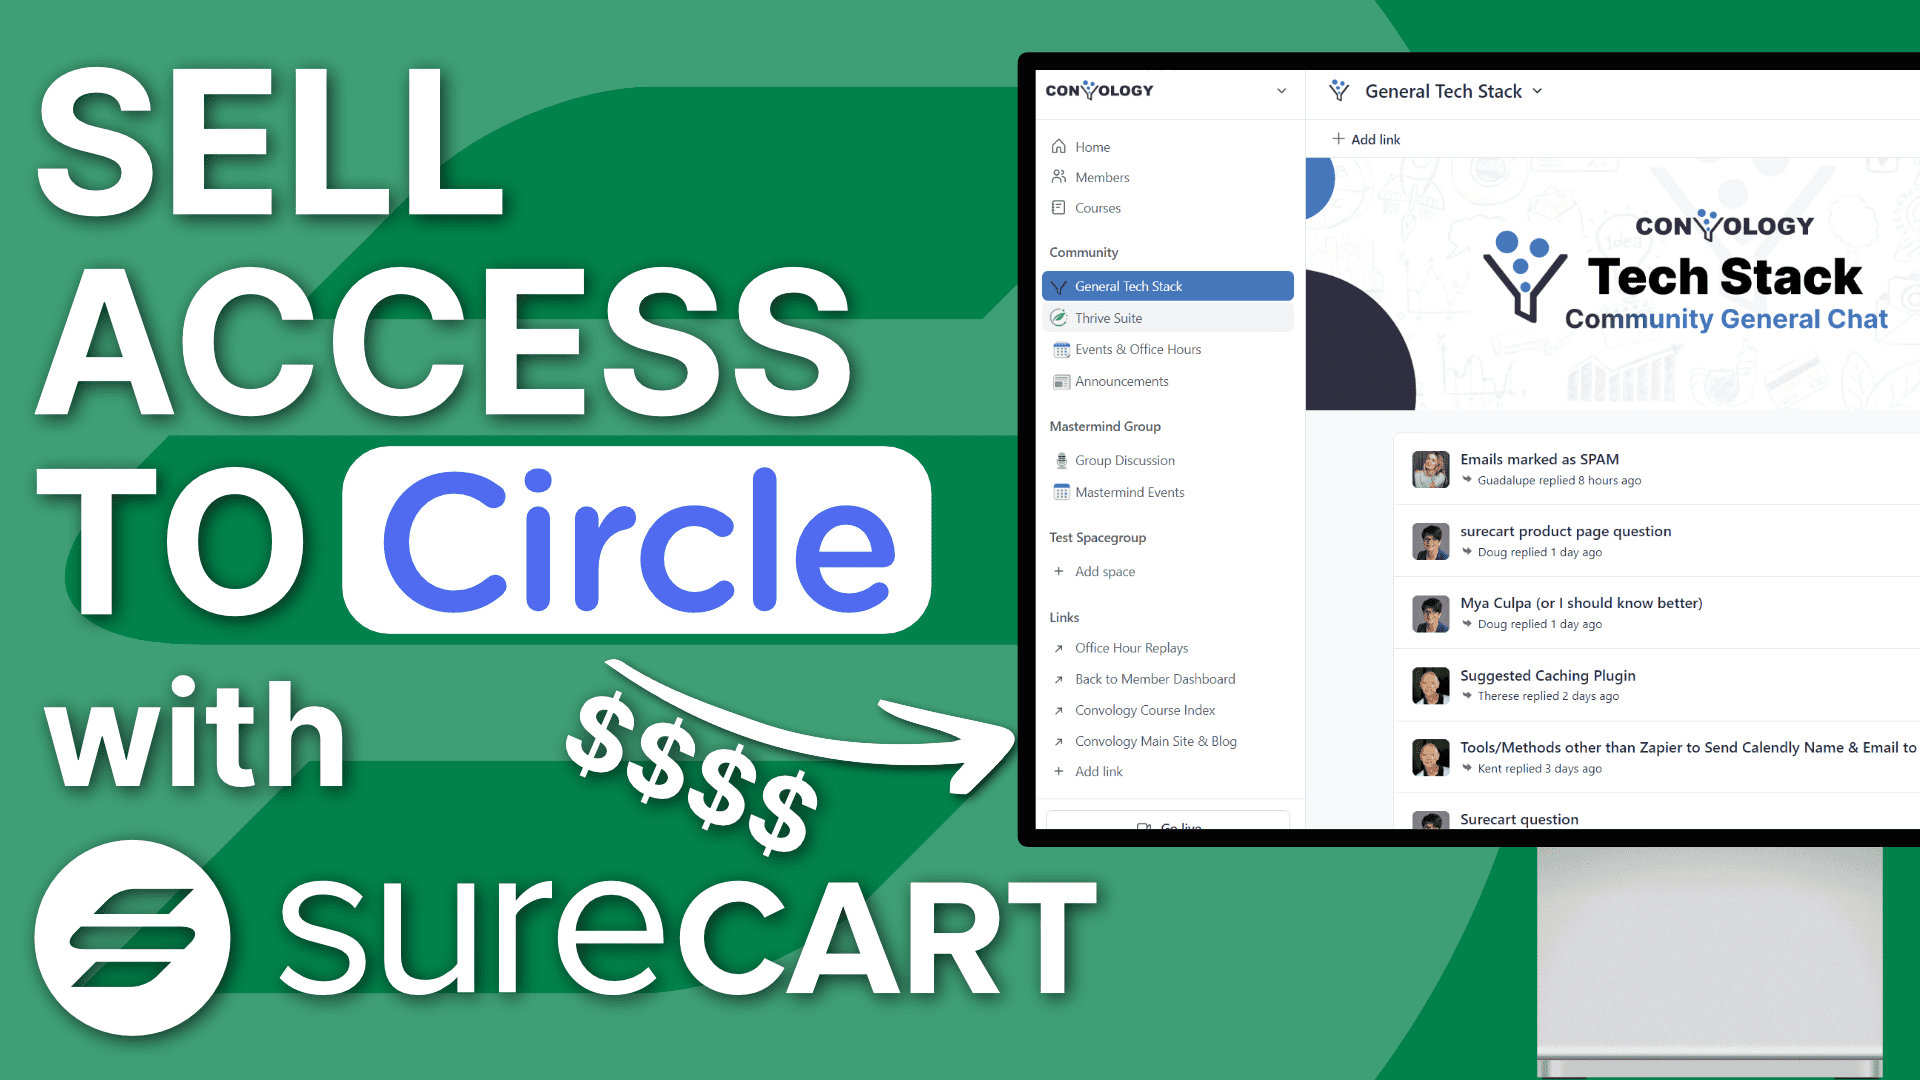
Selling access to a community using SureCart is extremely easy. In this tutorial, we will walk you through the basic steps of creating a product in SureCart, creating a checkout form, and setting up SureTriggers to invite members to the community. We will also discuss an alternative method using Zapier.
By following the steps outlined in this tutorial, you can create a membership community and invite members with ease. Whether you choose to use SureCart or Zapier, the process is straightforward and can be completed quickly. So, let’s dive in and get started!
Key Takeaways
- Creating a premium/paid membership community using Circle and SureCart is easy and straightforward, also saves you a lot of money by avoiding third-party fees.
- SureCart allows you to create a checkout flow and membership management portal easily on your own website.
- SureTriggers (my preferred method) or Zapier allow you to automate the process of inviting members to your community.
Tech Stack Used in This Tutorial
Step-By-Step Video Tutorial: Selling Access to Circle Communities with SureCart
For those of you needing a step-by-step tutorial, I recommend wanting this tutorial in video format. If you simply want an overview of the process, check out my tutorial overview and writeup below.
Creating a Circle Community Product in SureCart
To sell access to your community using SureCart, the first step is to create a product. This is a straightforward process that can be completed easily. Once you have logged in to your SureCart account, you need to navigate to the “Products” section and click on “Add New Product.”
Next, you need to enter the product details, including the name, image, and price points for your community. This can be done quickly, and you can add multiple price options if needed. Once you have entered all the information, click on “Save Product,” and your product will be created.
After creating your product, you can make it available for sale on your website using a Checkout Form (or “Form” for short) which gives you a simple shortcode that can be added to any page on your website, and it will display the product details and a button to purchase the product.
Creating a Checkout Form in SureCart for your Circle Community
Creating a checkout form in SureCart is easy. Here are the basics you’ll want when creating a form to sell access to a Circle Community:
- Add pricing options if applicable (like a monthly, quarterly, or yearly price point)
- The customer’s name and email address are both mandatory (the API demands them)
- I recommend allowing the customer to create a password by adding a password field to your form (this pairs nicely with my SSO tutorial for WordPress and Circle).
Thrive with SureCart Course
I encourage you to check out my comprehensive SureCart course. I dive into all of the details about how to use this amazing sales tool.
Create a Page on Your Website for Your SureCart Form
Thrive Architect makes the process of creating pages for SureCart forms an absolute breeze. You simply create the page and import a template that you like (I have some for sale here) or you can create your own.
You can add testimonials, images, stylized bullet-lists of what comes with the product, or anything else you might want on a checkout page. The only required thing is a text field with the shortcode for the SureCart form.
I have the entire process for you to check out in this video below.
Using SureTriggers to Connect SureCart with Circle
This is my preferred method of connecting these two tools due to how simple and interconnected the data is with your website and the user’s accounts. This method requires a Circle Business Plan (or an API-supported legacy plan).
If you don’t have a high enough Circle plan, you can skip to an alternative method using Zapier below.
Adding a Workflow to Connect SureCart with Circle
Follow these steps to configure your workflow.
- The starting trigger is a SureCart “purchase created”
- Select the product you created
- Fetch data to find a sale (if none yet, submit a test checkout to get some test data)
- Click the plus symbol to add an action.
- Select Circle and invite the member to the community.
- Fill in the necessary data like the customer’s name and email (both required)
- Skip the invitation email if you’re using SSO (recommended) and select your community and space groups.
- Click test action (this will invite your test data you fetched earlier) and then save.
SureTriggers + Zapier Method
If you don’t have API access in Circle, you can use the Zapier method which is supported on their paid plans.
To set up Zapier, follow these steps:
- Follow the SureTriggers steps above for 1-4 but instead of choosing Cirlce in Step 5 you choose API.
- Now go to Zapier in a new tab
- Create a new zap and choose “web hooks by Zapier.”
- Catch a hook and copy the web hook URL.
- Return to SureTriggers
- In the API action, choose Post and Json and enter the URL from Zapier.
- Add the parameters for name and email using the customer’s first name and email from SureCart.
- Test sending the data so that Zapier has test data to work with.
- Add another step in the Zap for Circle and connect it to your Circle account.
- Map the customer name and email from the webhook data into the Circle fields.
- Add the Circle spaces and space groups you’re giving access to and optionally skip the welcome email (if using SSO, which I recommend)
- Test the action (this invites the test data you used)
Integration Complete
You’re now all set and can avoid the payment fees imposed by Circle if you use their native paywall features.

