In this writeup / tutorial, we’ll explore how to use Circle to create a course platform in addition to its powerful community features. We’ll walk through the setup process, discuss customization options, and analyze the pros and cons of using Circle for your online courses.
I have a video walkthrough showing the step-by-step process for using Circle as a course platform available for you to view below.
Getting Started with Circle
Circle is well-known for its community-building capabilities, but it also offers a robust platform for hosting and managing courses. Let’s dive into the details of setting up a course on Circle.
Which Circle Plan Do You Need?
To use the courses feature in Circle, you need to be on a paid plan. Specifically, the Professional plan or higher, which costs $89 per month if paid annually or $99 per month if paid monthly. This plan includes the courses feature along with other essential tools for building a comprehensive course and community platform.

Setting Up Your Course
- Accessing Circle: Log in to your Circle account. On the left-hand side, you will see various spaces and groups. Navigate to the section where you want to add your course.
- Creating a Course: Click on the plus symbol next to the space group where you want to add the course. Select “Add a Space” and then choose “Course” from the list of space types.
- Course Types: Circle offers three types of courses:
- Self-Paced: Students can access all content immediately.
- Structured: Content is dripped out over time.
- Scheduled: All students access content on specific dates.
Customizing Your Course
- Naming and Icon: Name your course and choose an icon or upload a custom image to represent it.
- Course Layout: Organize your course into modules and lessons. For each lesson, you can add videos, text, and other content types.
- Media and Attachments: Decide whether to host your videos on Circle (which uses attachment storage) or embed videos from platforms like Vimeo, YouTube, or Loom.

Managing Course Content
- Adding Lessons: Click on “Edit Lessons” to start adding lessons to your course. You can organize lessons into modules and set drip schedules if using a structured course type.
- Featured Media: Enable or disable featured media at the top of each lesson. If enabled, you can embed videos from supported platforms or upload directly to Circle.
- Attachments: Add up to 15 files per lesson, but be mindful of your attachment storage limits.
Course Administration
- Publishing: Once your course content is ready, publish the course to make it accessible to students.
- Managing Members: Use the members section to see who has access to your course. You can add members manually or through automated processes.
- Customization: Customize the course lock screen, member notifications, and other settings to fit your brand and preferences.
Using Circle’s Paywalls
Circle offers an integrated paywall feature to monetize your courses. This feature seamlessly integrates with Stripe for payment processing and makes managing your customers so ridiculously easy.
I recently migrated my own setup over to Circle Paywalls and I HIGHLY recommend it if you’re at all interested in removing the duct tape and hacked together tech stack feeling that often comes with a WordPress-based course platform, or if your community is already on Circle. It’s a no-brainer.

Setting Up Paywalls
- Create a Paywall: Go to the settings of your Circle community and select “Paywalls.” Create a new paywall and configure pricing options.
- Pricing: Set up subscriptions, one-time payments, and optional upfront fees. Define how often members will be billed and set up upgradeable subscription groups if needed.
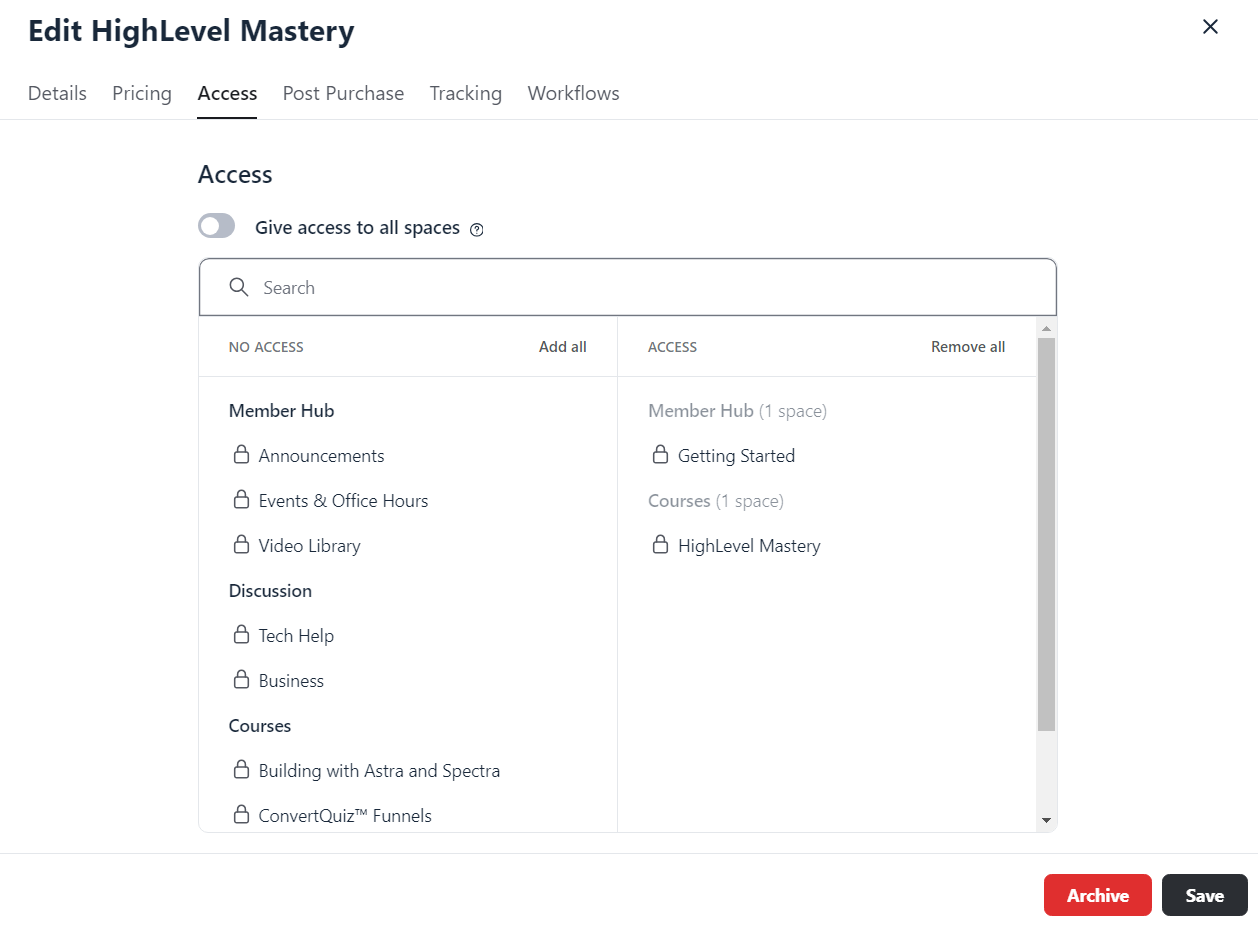
- Access Control: Determine which spaces and courses members will access upon purchasing the paywall.
Pros and Cons of Circle Paywalls
Pros:
- Seamless integration with your entire community (courses, spaces, space groups, etc)
- Easy setup and management (seconds to set up a paywall with NO external integrations needed)
- Direct control over membership and access, including updating access post-purchase for new and existing customers.
Cons:
- Additional 1-2% transaction fee on top of Stripe fees.
- Limited customization compared to external payment tools.
- Lacks advanced e-commerce features like upsells and downsells.
I have an extremely detailed writeup comparing Circle Paywalls with SureCart, ThriveCart, and HighLevel that goes through all of the pros and cons of each.
Conclusion
Circle provides a solid platform for hosting courses, especially if you already have an active community. Its seamless integration and simplicity make it an attractive option, although it comes with higher processing fees and fewer advanced e-commerce features — although someone from Circle did make a post in the Circle community that these features are coming soon.
By understanding the strengths and limitations of each option, you can make an informed decision that best fits your course and community platform strategy.